Sign up to receive our newsletter with the newest posts

Tag: Canning

  • Smoky Garden Salsa: How the Smoker Changes Everything

    Smoky Garden Salsa: How the Smoker Changes Everything

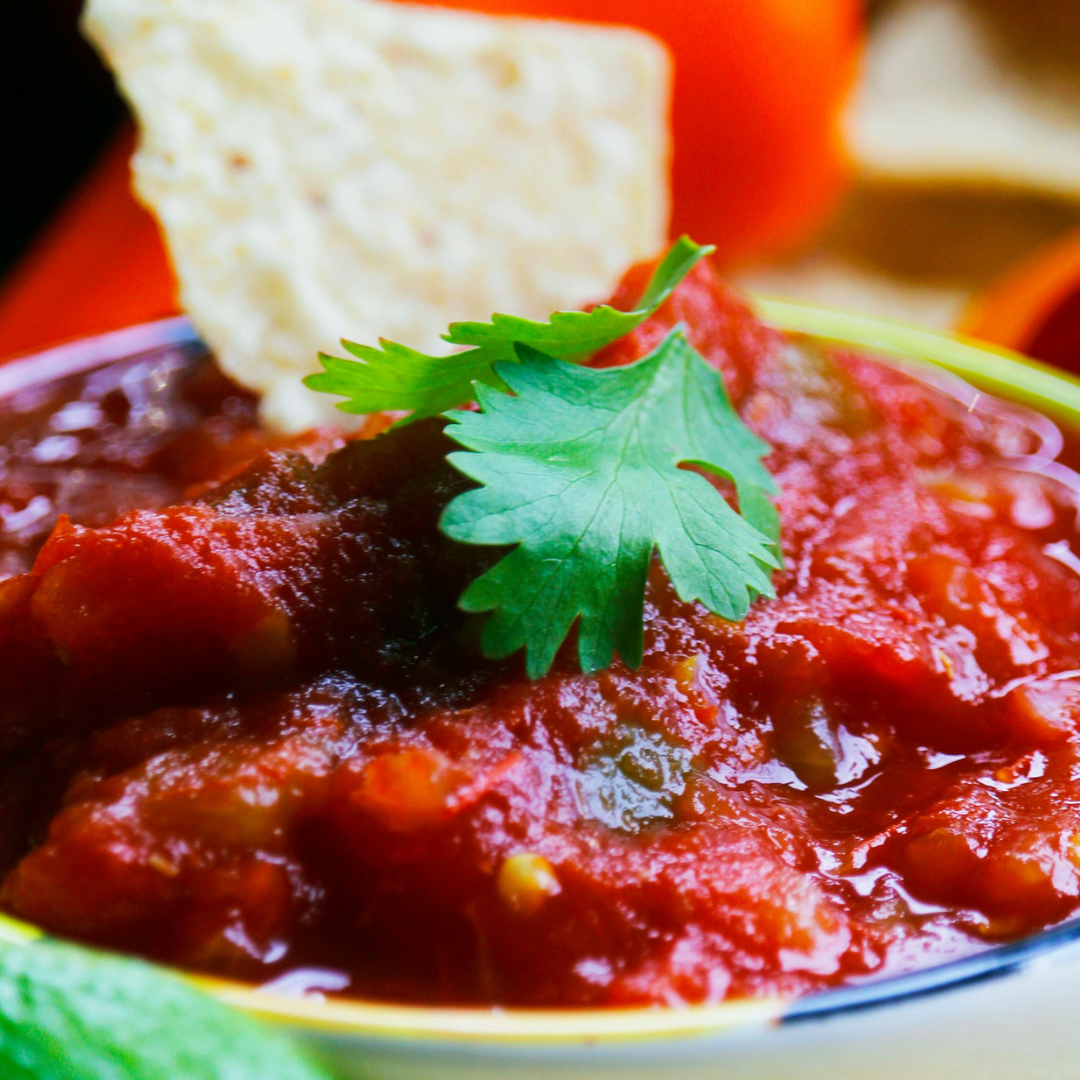
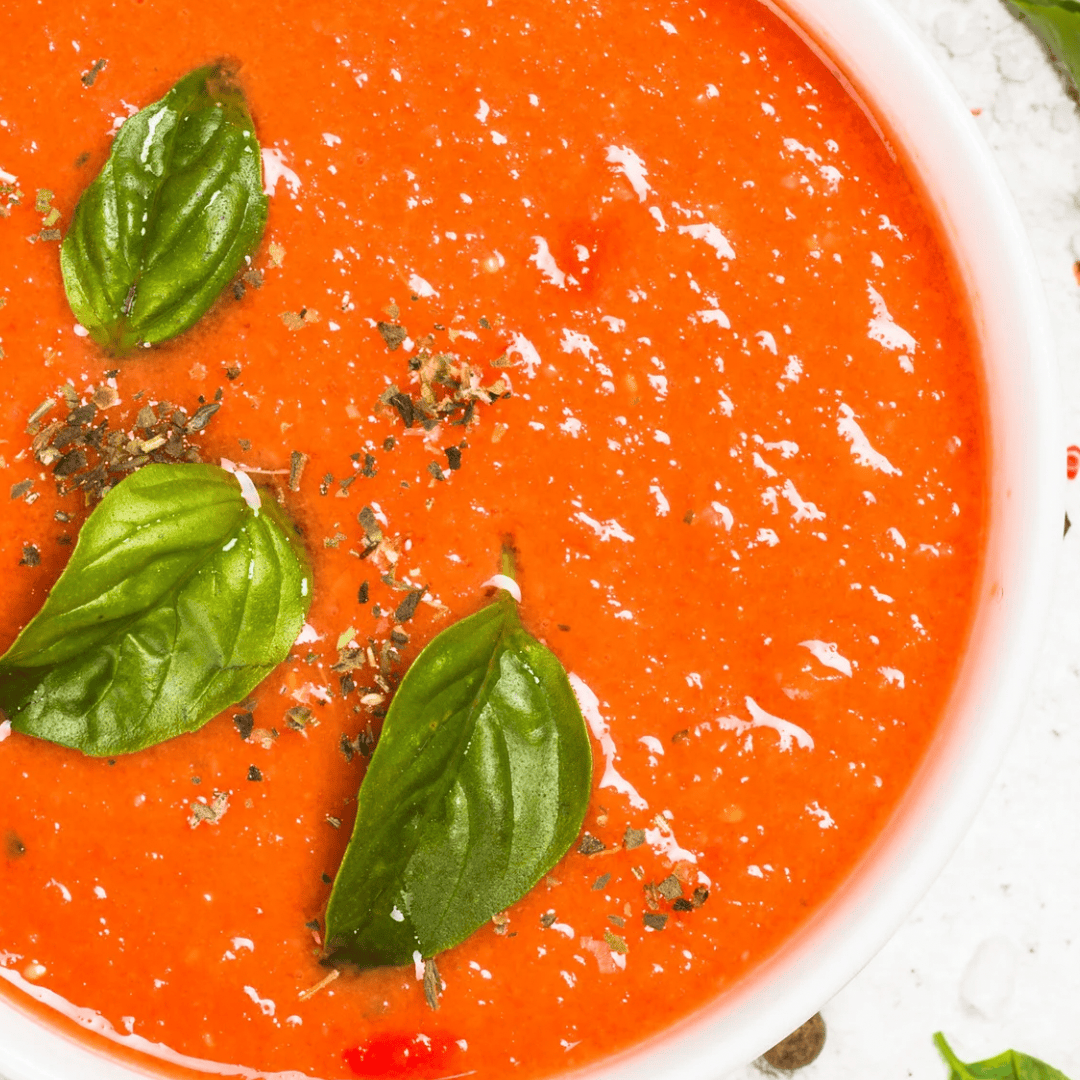
    If you’ve only ever made salsa on the stovetop, you’re missing out. Running your tomatoes, peppers, and onions through the smoker before blending adds a deep, smoky backbone that no amount of chili powder can fake. It takes a little more time than the stovetop version, but almost none of it is hands-on — the smoker does the work.

    Why Smoke the Vegetables First

    Smoking concentrates flavor the same way roasting does, but with that extra layer of char and smoke that turns a good salsa into the one people ask you to bring every year. It also softens everything down before it hits the blender, so you get a smooth, restaurant-style texture without overcooking anything on the stove.

    What You’ll Need

    • Ripe tomatoes (Romas or a mix of garden varieties work well)
    • Onions, quartered
    • Jalapeños or your preferred heat level
    • A few garlic cloves, skin on
    • A disposable aluminum pan (this is key — it catches all the juices so nothing is wasted)
    • Lime juice, salt, and fresh cilantro to finish

    The Smoker Method

    1. Load the pan. Halve the tomatoes and load them into the aluminum pan cut-side up along with the onion quarters, peppers, and garlic. Keeping everything in the pan means the juices that render out during smoking stay in the mix instead of dripping into your fire.
    2. Smoke low and slow. Run the smoker at 225–250°F and let the vegetables go until they’re soft and lightly charred, with visible blistering on the tomato skins and pepper skins. This usually takes a couple of hours depending on your smoker and how large you cut things.
    3. Let it cool slightly, then peel the garlic and remove pepper stems.
    4. Blend it up. Pour the pan contents — vegetables and all those smoky juices — into a blender or food processor. Pulse to your preferred texture; a few short pulses keeps it chunky, more blending gets you a smoother restaurant-style salsa.
    5. Season to finish. Stir in lime juice, salt, and chopped cilantro to taste. Let it sit for at least 30 minutes before serving so the flavors settle.

    Canning It for Later

    This salsa can be processed in a water bath canner if you follow a tested acidified salsa recipe — the smoking step doesn’t change the acid balance, but you do still need enough bottled lime or lemon juice per jar to can it safely. If you’re not canning, it keeps well in the fridge for about a week or freezes nicely for a few months.

    A Few Tips

    • Don’t skip the aluminum pan — smoking directly on the grates loses all those flavorful juices that make this version so good. ➡️Grab pans that are perfect for this here!
    • Char is good, burnt is not — keep an eye on smaller pieces like garlic so they don’t scorch before the tomatoes are done.
    • This method scales beautifully for a big harvest — just use a second pan if your smoker has the room.

    Once you’ve had smoked salsa, it’s hard to go back to the stovetop version. It’s become a September tradition around here — what’s your go-to way to use up a big pepper and tomato harvest?

    As you are canning this fall, be sure to keep track of everything you have to use up before next canning season. ➡️Grab my Canning and Pantry Log Here

  • End-of-Summer Preserving: How to Make the Most of Your Last Harvest

    End-of-Summer Preserving: How to Make the Most of Your Last Harvest

    The tomatoes are still coming, the peppers are finally blushing red, and the zucchini plants haven’t gotten the memo that fall is around the corner. Late summer is one of the busiest — and most rewarding — stretches of the preserving season. Here’s how to make the most of it before the garden winds down.

    Take Inventory Before You Start

    Before you pull out the canner, walk your garden and take stock of what’s actually ripening in volume. End-of-summer harvests tend to come in waves rather than a steady trickle, so it’s easy to get overwhelmed. Sort what you have into three piles:

    • Eat fresh this week — anything delicate or already very ripe
    • Preserve now — produce at peak ripeness in large enough quantity to justify a canning session
    • Freeze for later — extras you don’t have time to process right away

    This simple sort saves a lot of last-minute scrambling and food waste.

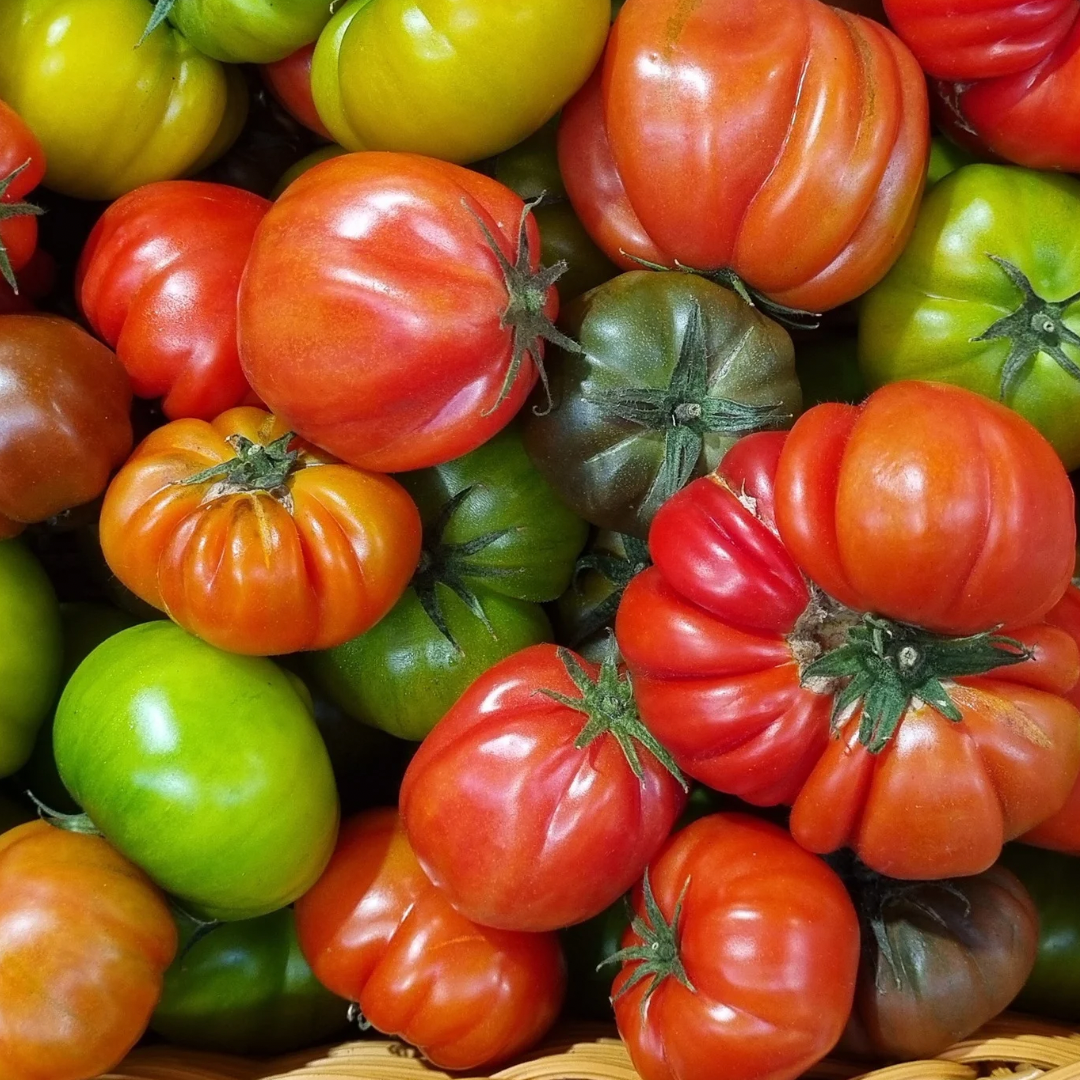
    Tomatoes: Your End-of-Season MVP

    If there’s one crop that defines late-summer preserving, it’s tomatoes. A few ways to use a big haul:

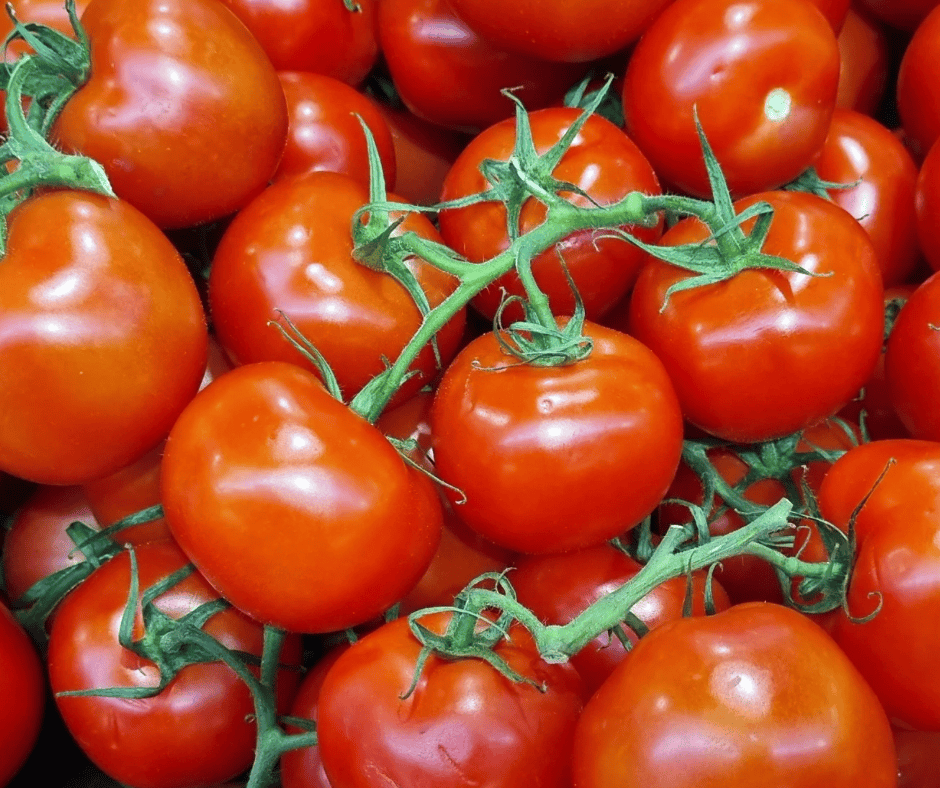
    • Canned whole or crushed tomatoes — the workhorse of winter cooking. Great in a water bath canner if you add the right amount of acid (bottled lemon juice or citric acid, not just vinegar to taste).
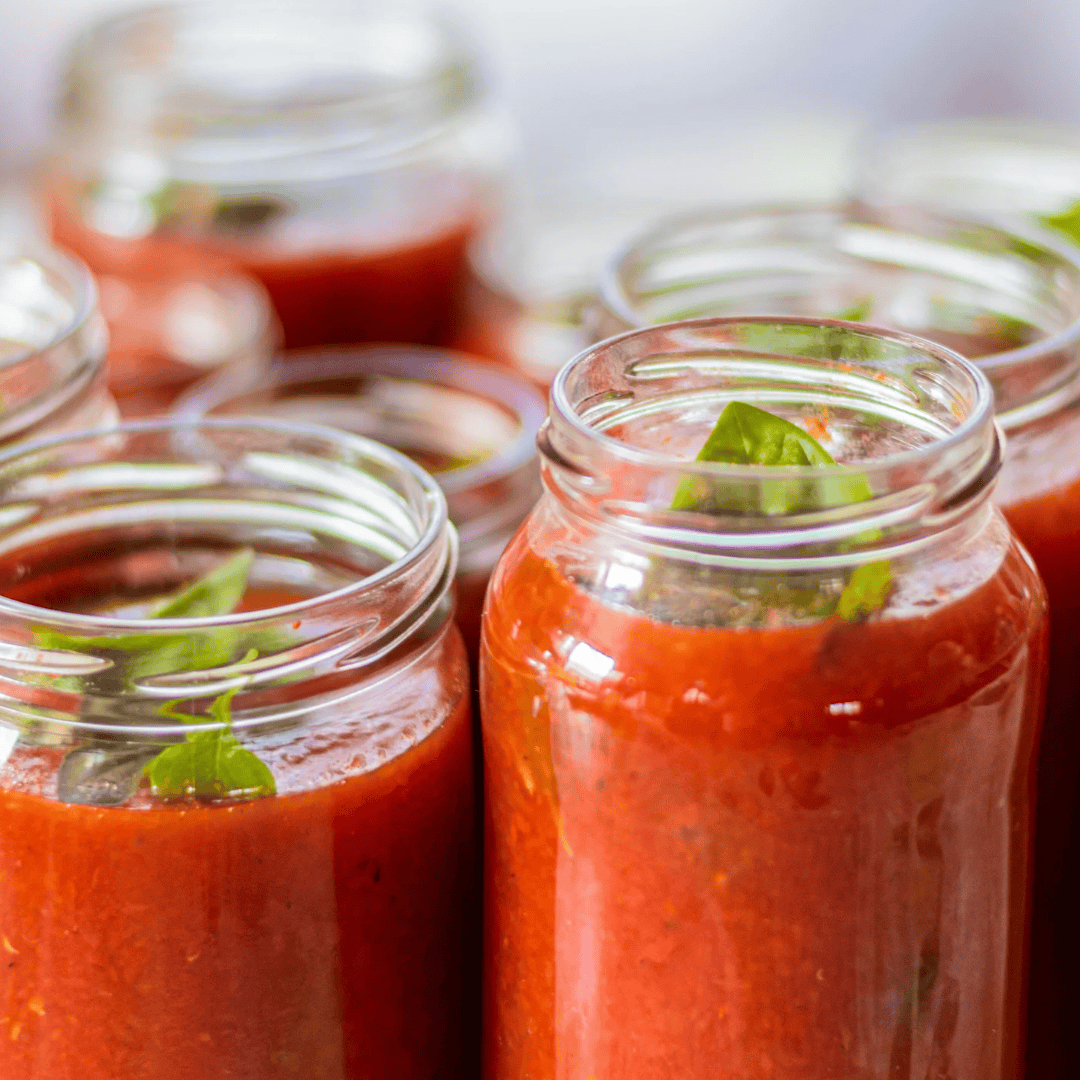
    • Tomato sauce or salsa — cook down a big batch and can it in pint jars for easy weeknight meals later.
    • Oven-roasted and frozen — if you’re short on canning time, roasting halved tomatoes with olive oil and garlic, then freezing them flat on a sheet pan, is a low-effort way to lock in flavor.

    Peppers and Zucchini

    Peppers freeze beautifully with almost no prep — just wash, seed, slice, and freeze in a single layer before bagging. For a bigger batch, pickled peppers are a fast, low-commitment way to use up a large harvest without a full canning session.

    Zucchini is a great item to prep for the winter,➡️ Check out my post about how to freeze them!

    Herbs Before the Frost

    Basil, in particular, turns black at the first cool night, so it’s worth harvesting fully before frost risk sets in. Blend it into pesto and freeze in ice cube trays for easy portioning, or simply chop and freeze in oil.

    A Few Preserving Reminders

    A few habits make end-of-season preserving smoother and safer:

    1. Use tested recipes for anything water-bath or pressure canned — acidity levels matter for safety, not just flavor.
    2. Label everything with the contents and date. It’s easy to forget what’s in an unlabeled jar by January.
    3. Don’t can more than you’ll realistically use. It’s tempting to preserve every last tomato, but a full pantry of food you never get to before next season isn’t actually saving anything.
    4. Keep a running log of what you preserved and how much — it makes planning next year’s garden (and knowing when to stop canning tomatoes) so much easier. ➡️Grab my Canning Log to keep track of it all!

    Wrapping Up the Season

    End-of-summer preserving is as much about slowing down and taking stock as it is about jars and lids. Whatever doesn’t get preserved can usually still be shared, composted, or enjoyed fresh — no need to feel like every last vegetable has to end up in a jar.

    What’s overflowing in your garden right now? I’d love to hear what you’re preserving this week.

  • What to Can in Late July: A Garden-to-Jar Checklist

    What to Can in Late July: A Garden-to-Jar Checklist

    If your kitchen counter is starting to look like a produce stand, you’re right on schedule. Late July is when the garden stops trickling and starts flooding — tomatoes are blushing red, cucumbers are doubling overnight, and the green beans need picking every other day just to keep up. Sweet peppers tend to hit all at once too. It’s the best kind of overwhelm, but it does mean it’s time to start thinking about what’s going in jars this week.

    Here’s a simple checklist of what to can right now, plus a few tips to make the process smoother.

    1. Cucumbers → Pickles

    If your cucumber vines are producing faster than you can eat them fresh, this is your sign. Small, firm cucumbers make the crispest pickles — don’t wait for them to get big.

    Tip: Trim a thin slice off the blossom end of each cucumber before packing jars. It contains an enzyme that can make pickles go soft over time.

    2. Tomatoes → Sauce or Diced Tomatoes

    Late July tomatoes are just starting to come in strong, and a big batch of sauce now means a well-stocked pantry come winter. If you’re short on time, diced tomatoes are the faster option — no simmering required.

    Tip: Blanch tomatoes in boiling water for 30-60 seconds first. The skins slip right off, no peeling required.

    If you’re just getting into canning this year, my favorite canning essentials can help you get set up without overspending.

    3. Green Beans → Dilly Beans

    Green beans grow fast this time of year, and pickled “dilly beans” are one of the easiest ways to preserve a big harvest without a lot of prep. They also make a great gift jar.

    Tip: Pack beans standing up in the jar rather than laid flat — it looks nicer and fits more in each jar.

    4. Summer Squash & Zucchini → Relish or Shredded Freezer Packs

    If you grew even one zucchini plant, you know the struggle of keeping up (I’ve shared my favorite ways to use up extra zucchini before). Relish is a great way to use up a big batch at once, or you can shred and freeze it in portioned bags for soups and baking later.

    Tip: Squeeze out excess moisture before freezing shredded squash — it prevents watery, mushy results when you thaw it.

    Staying Organized Through the Chaos

    Once your jars are cooling on the counter don’t skip labeling them – Trust me, “mystery jar, probably tomatoes?” is not a fun game come January. I made a set of canning labels (regular and wide mouth) just for this and I keep a stack in my kitchen drawer all summer.

    With this much coming in at once, it’s easy to lose track of what you canned, when, and how much — especially if you’re putting up several batches a week. A lot of home canners keep a simple log going through the season: what was canned, the date, how many jars, and any notes for next year (like “double the garlic next time”). Grab mine below!

  • My Favorite Canning Essentials for This Season

    My Favorite Canning Essentials for This Season

    There’s something about canning season that makes summer feel complete. Fresh tomatoes, crisp pickles, sweet jams, and garden vegetables lining the pantry shelves are one of my favorite sights of the year. Whether you’re preserving your own garden harvest or stocking up on produce from the farmers market, canning is a wonderful way to enjoy summer flavors all year long.

    If you’ve been thinking about trying canning for the first time, don’t let it intimidate you! With a few basic tools and the right equipment, you’ll be surprised how quickly you get the hang of it. And if you’re already an experienced canner, there’s a new gadget that has completely changed my canning routine.

    The Basic Supplies Every Beginner Needs

    Before you start, you’ll want to gather a few canning essentials:

    • Water bath canner (or an electric water bath canner)
    • Mason jars
    • New lids and bands
    • Jar lifter
    • Magnetic lid lifter
    • Wide-mouth funnel
    • Bubble remover/headspace tool
    • Measuring cups and measuring spoons
    • Ladle
    • Clean kitchen towels
    • Labels or a marker to date your jars

    Many of these items come together in inexpensive beginner canning kits, making it easy to get everything you need in one purchase. This it a perfect kit to start with: Link to a great starter kit

    Start Simple with a Traditional Water Bath Canner

    If you’re just getting into canning, a traditional water bath canner is a great place to begin. They’re affordable, easy to learn, and perfect for preserving:

    • Pickles
    • Salsa
    • Tomato products
    • Jams and jellies
    • Fruit preserves

    Water bath canning works wonderfully for high-acid foods and is an excellent introduction to home food preservation.

    My New Favorite: The Ball Electric Water Bath Canner

    This year, I finally decided to try the Ball Electric Water Bath Canner, and I honestly wish I had purchased it sooner.

    I was a little hesitant because I already had a traditional canner that worked just fine. But after using the electric version for the first time, I can confidently say it made the entire process feel so much easier.

    Here are my favorite things about it:

    • No standing over a hot stove for hours.
    • It automatically heats and maintains the correct temperature.
    • Simple digital controls guide you through the process.
    • No lifting a huge pot full of boiling water onto the stove.
    • Frees up your stovetop for cooking other foods.
    • Great for hot summer days when you don’t want your kitchen heating up even more.

    Instead of constantly checking the temperature and adjusting burners, I could focus on preparing the next batch while the canner did the work. It made canning feel much less stressful and a whole lot more enjoyable.

    As a busy mom (especially with a toddler underfoot and another little one on the way), anything that saves time and simplifies a project is worth every penny. This was one of those purchases I know I’ll use for years.

    Don’t Forget to Follow Safe Canning Practices

    No matter which canner you choose, always use a tested recipe from trusted sources like Ball or the USDA. Safe processing times and proper acidity are what keep your canned food shelf-stable and safe to enjoy.

    Never skip recommended processing times or substitute ingredients unless the recipe specifically says it’s safe to do so.

    Happy Canning!

    Whether you’re filling your pantry with garden-fresh tomatoes, crunchy dill pickles, homemade salsa, or sweet strawberry jam, canning is one of the most rewarding ways to preserve the harvest.

    If you’re just starting out, don’t feel like you need every gadget right away. A simple canning kit and a basic water bath canner will get you going. But if you’re looking to make the process even easier, I can wholeheartedly recommend the Ball Electric Water Bath Canner after using it myself this season.

    Here’s to a pantry full of homemade goodness—and a successful canning season! 🌿🍅🥒