Sign up to receive our newsletter with the newest posts

Tag: Garden Tips

Come to learn about all things canning, freezing and maintaining your garden as well as where I will share my favorite recipes from your large harvests!

  • Smoky Garden Salsa: How the Smoker Changes Everything

    Smoky Garden Salsa: How the Smoker Changes Everything

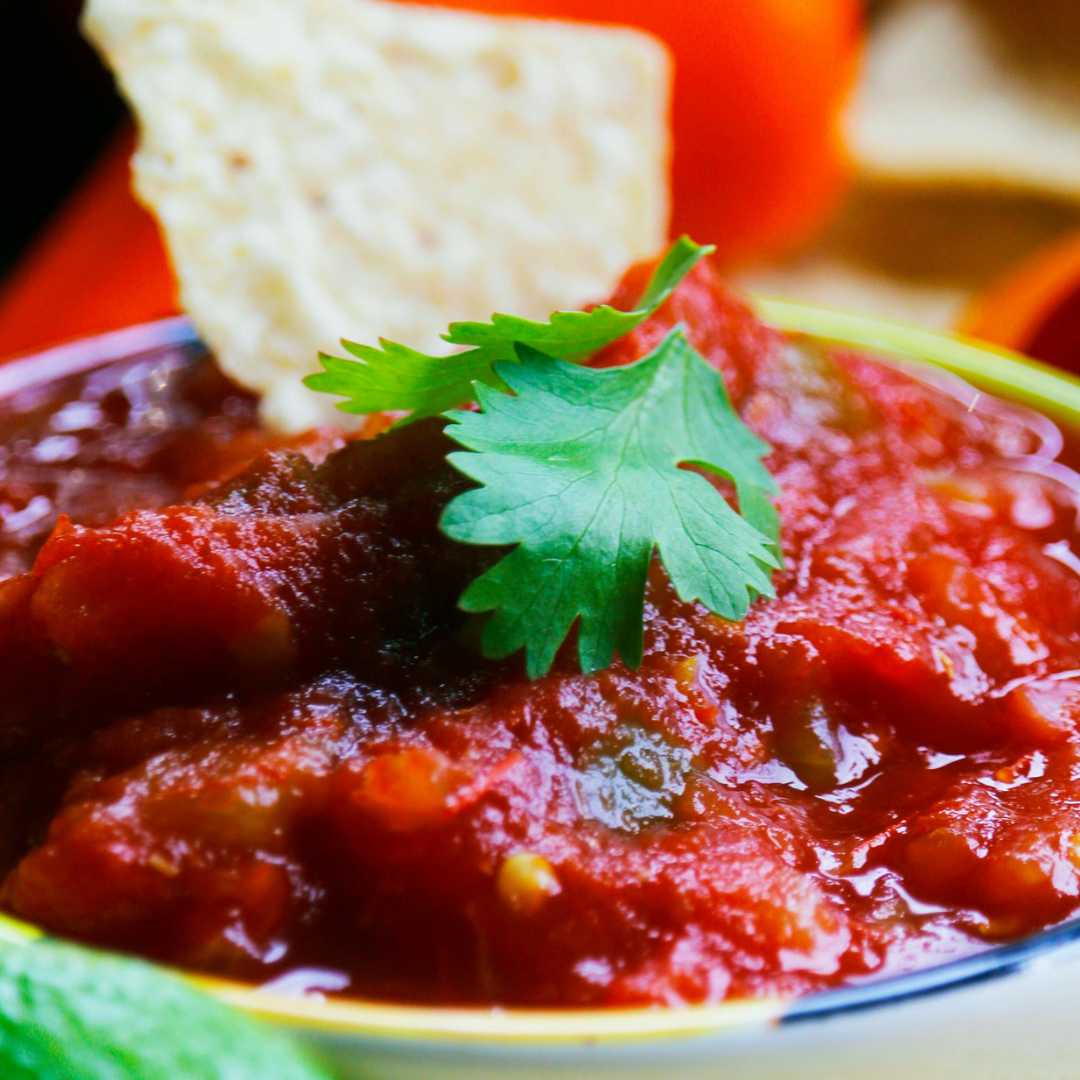
    If you’ve only ever made salsa on the stovetop, you’re missing out. Running your tomatoes, peppers, and onions through the smoker before blending adds a deep, smoky backbone that no amount of chili powder can fake. It takes a little more time than the stovetop version, but almost none of it is hands-on — the smoker does the work.

    Why Smoke the Vegetables First

    Smoking concentrates flavor the same way roasting does, but with that extra layer of char and smoke that turns a good salsa into the one people ask you to bring every year. It also softens everything down before it hits the blender, so you get a smooth, restaurant-style texture without overcooking anything on the stove.

    What You’ll Need

    • Ripe tomatoes (Romas or a mix of garden varieties work well)
    • Onions, quartered
    • Jalapeños or your preferred heat level
    • A few garlic cloves, skin on
    • A disposable aluminum pan (this is key — it catches all the juices so nothing is wasted)
    • Lime juice, salt, and fresh cilantro to finish

    The Smoker Method

    1. Load the pan. Halve the tomatoes and load them into the aluminum pan cut-side up along with the onion quarters, peppers, and garlic. Keeping everything in the pan means the juices that render out during smoking stay in the mix instead of dripping into your fire.
    2. Smoke low and slow. Run the smoker at 225–250°F and let the vegetables go until they’re soft and lightly charred, with visible blistering on the tomato skins and pepper skins. This usually takes a couple of hours depending on your smoker and how large you cut things.
    3. Let it cool slightly, then peel the garlic and remove pepper stems.
    4. Blend it up. Pour the pan contents — vegetables and all those smoky juices — into a blender or food processor. Pulse to your preferred texture; a few short pulses keeps it chunky, more blending gets you a smoother restaurant-style salsa.
    5. Season to finish. Stir in lime juice, salt, and chopped cilantro to taste. Let it sit for at least 30 minutes before serving so the flavors settle.

    Canning It for Later

    This salsa can be processed in a water bath canner if you follow a tested acidified salsa recipe — the smoking step doesn’t change the acid balance, but you do still need enough bottled lime or lemon juice per jar to can it safely. If you’re not canning, it keeps well in the fridge for about a week or freezes nicely for a few months.

    A Few Tips

    • Don’t skip the aluminum pan — smoking directly on the grates loses all those flavorful juices that make this version so good. ➡️Grab pans that are perfect for this here!
    • Char is good, burnt is not — keep an eye on smaller pieces like garlic so they don’t scorch before the tomatoes are done.
    • This method scales beautifully for a big harvest — just use a second pan if your smoker has the room.

    Once you’ve had smoked salsa, it’s hard to go back to the stovetop version. It’s become a September tradition around here — what’s your go-to way to use up a big pepper and tomato harvest?

    As you are canning this fall, be sure to keep track of everything you have to use up before next canning season. ➡️Grab my Canning and Pantry Log Here

  • End-of-Summer Preserving: How to Make the Most of Your Last Harvest

    End-of-Summer Preserving: How to Make the Most of Your Last Harvest

    The tomatoes are still coming, the peppers are finally blushing red, and the zucchini plants haven’t gotten the memo that fall is around the corner. Late summer is one of the busiest — and most rewarding — stretches of the preserving season. Here’s how to make the most of it before the garden winds down.

    Take Inventory Before You Start

    Before you pull out the canner, walk your garden and take stock of what’s actually ripening in volume. End-of-summer harvests tend to come in waves rather than a steady trickle, so it’s easy to get overwhelmed. Sort what you have into three piles:

    • Eat fresh this week — anything delicate or already very ripe
    • Preserve now — produce at peak ripeness in large enough quantity to justify a canning session
    • Freeze for later — extras you don’t have time to process right away

    This simple sort saves a lot of last-minute scrambling and food waste.

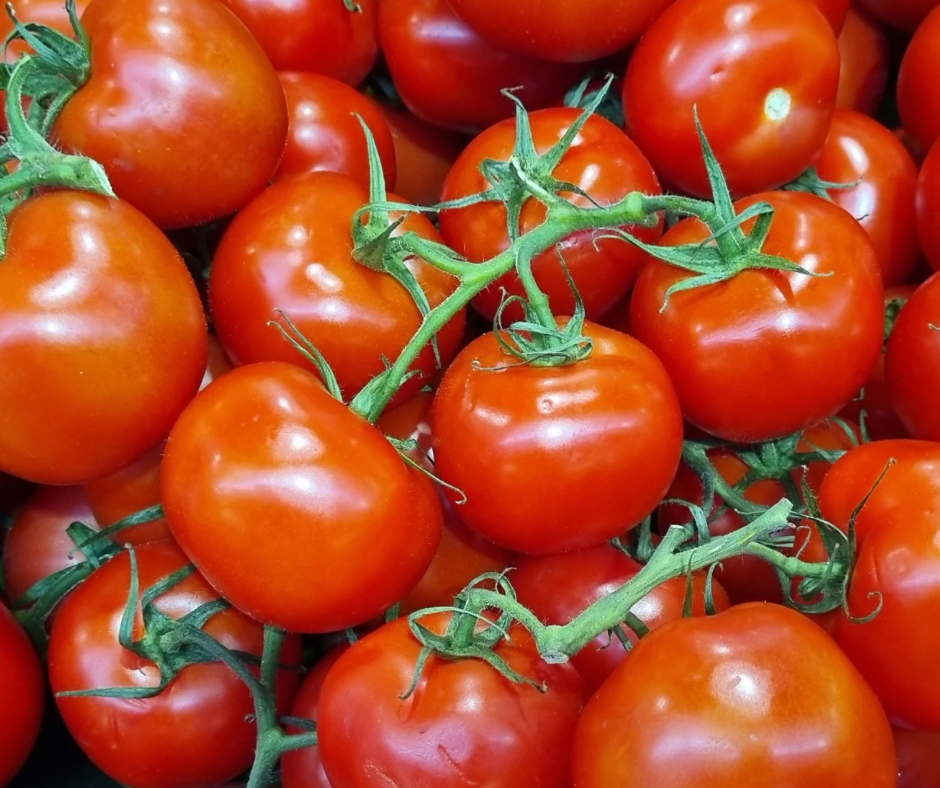
    Tomatoes: Your End-of-Season MVP

    If there’s one crop that defines late-summer preserving, it’s tomatoes. A few ways to use a big haul:

    • Canned whole or crushed tomatoes — the workhorse of winter cooking. Great in a water bath canner if you add the right amount of acid (bottled lemon juice or citric acid, not just vinegar to taste).
    • Tomato sauce or salsa — cook down a big batch and can it in pint jars for easy weeknight meals later.
    • Oven-roasted and frozen — if you’re short on canning time, roasting halved tomatoes with olive oil and garlic, then freezing them flat on a sheet pan, is a low-effort way to lock in flavor.

    Peppers and Zucchini

    Peppers freeze beautifully with almost no prep — just wash, seed, slice, and freeze in a single layer before bagging. For a bigger batch, pickled peppers are a fast, low-commitment way to use up a large harvest without a full canning session.

    Zucchini is a great item to prep for the winter,➡️ Check out my post about how to freeze them!

    Herbs Before the Frost

    Basil, in particular, turns black at the first cool night, so it’s worth harvesting fully before frost risk sets in. Blend it into pesto and freeze in ice cube trays for easy portioning, or simply chop and freeze in oil.

    A Few Preserving Reminders

    A few habits make end-of-season preserving smoother and safer:

    1. Use tested recipes for anything water-bath or pressure canned — acidity levels matter for safety, not just flavor.
    2. Label everything with the contents and date. It’s easy to forget what’s in an unlabeled jar by January.
    3. Don’t can more than you’ll realistically use. It’s tempting to preserve every last tomato, but a full pantry of food you never get to before next season isn’t actually saving anything.
    4. Keep a running log of what you preserved and how much — it makes planning next year’s garden (and knowing when to stop canning tomatoes) so much easier. ➡️Grab my Canning Log to keep track of it all!

    Wrapping Up the Season

    End-of-summer preserving is as much about slowing down and taking stock as it is about jars and lids. Whatever doesn’t get preserved can usually still be shared, composted, or enjoyed fresh — no need to feel like every last vegetable has to end up in a jar.

    What’s overflowing in your garden right now? I’d love to hear what you’re preserving this week.

  • What to Can in Late July: A Garden-to-Jar Checklist

    What to Can in Late July: A Garden-to-Jar Checklist

    If your kitchen counter is starting to look like a produce stand, you’re right on schedule. Late July is when the garden stops trickling and starts flooding — tomatoes are blushing red, cucumbers are doubling overnight, and the green beans need picking every other day just to keep up. Sweet peppers tend to hit all at once too. It’s the best kind of overwhelm, but it does mean it’s time to start thinking about what’s going in jars this week.

    Here’s a simple checklist of what to can right now, plus a few tips to make the process smoother.

    1. Cucumbers → Pickles

    If your cucumber vines are producing faster than you can eat them fresh, this is your sign. Small, firm cucumbers make the crispest pickles — don’t wait for them to get big.

    Tip: Trim a thin slice off the blossom end of each cucumber before packing jars. It contains an enzyme that can make pickles go soft over time.

    2. Tomatoes → Sauce or Diced Tomatoes

    Late July tomatoes are just starting to come in strong, and a big batch of sauce now means a well-stocked pantry come winter. If you’re short on time, diced tomatoes are the faster option — no simmering required.

    Tip: Blanch tomatoes in boiling water for 30-60 seconds first. The skins slip right off, no peeling required.

    If you’re just getting into canning this year, my favorite canning essentials can help you get set up without overspending.

    3. Green Beans → Dilly Beans

    Green beans grow fast this time of year, and pickled “dilly beans” are one of the easiest ways to preserve a big harvest without a lot of prep. They also make a great gift jar.

    Tip: Pack beans standing up in the jar rather than laid flat — it looks nicer and fits more in each jar.

    4. Summer Squash & Zucchini → Relish or Shredded Freezer Packs

    If you grew even one zucchini plant, you know the struggle of keeping up (I’ve shared my favorite ways to use up extra zucchini before). Relish is a great way to use up a big batch at once, or you can shred and freeze it in portioned bags for soups and baking later.

    Tip: Squeeze out excess moisture before freezing shredded squash — it prevents watery, mushy results when you thaw it.

    Staying Organized Through the Chaos

    Once your jars are cooling on the counter don’t skip labeling them – Trust me, “mystery jar, probably tomatoes?” is not a fun game come January. I made a set of canning labels (regular and wide mouth) just for this and I keep a stack in my kitchen drawer all summer.

    With this much coming in at once, it’s easy to lose track of what you canned, when, and how much — especially if you’re putting up several batches a week. A lot of home canners keep a simple log going through the season: what was canned, the date, how many jars, and any notes for next year (like “double the garlic next time”). Grab mine below!

  • 5 Gardening Mistakes I Made So You Don’t Have To

    5 Gardening Mistakes I Made So You Don’t Have To

    Every year my garden teaches me something new.

    Some lessons come from huge harvests, and others come from realizing halfway through the season that I made things much harder than they needed to be. The good news? You don’t have to make the same mistakes I did.

    If you’re planning your own vegetable garden, here are the five biggest mistakes I’ve made—and exactly what I’d do differently today.

    1. I Didn’t Give My Vining Plants Enough Space

    This was probably my biggest mistake.

    The first few years I gardened, I underestimated just how much room plants like cucumbers, pumpkins, squash, and melons actually need. They quickly sprawled into neighboring plants, making it difficult to walk through the garden, harvest vegetables, or even find what was growing underneath all those leaves.

    Now I either:

    • Give vining plants their own dedicated space.
    • Grow them vertically on sturdy trellises whenever possible.
    • Avoid overcrowding by paying attention to mature plant spacing instead of how tiny the seedlings look.

    Trust me—your future self will appreciate being able to actually walk through your garden.


    2. I Grew Vegetables We Didn’t Actually Eat

    This one seems obvious now, but when you’re planning a garden it’s easy to get caught up in growing everything.

    I planted crops like lettuce, broccoli, and cauliflower because they seemed like staples in everyone’s garden. The problem? We rarely eat them.

    Many of those vegetables matured all at once, and I found myself scrambling to use them before they spoiled. Some never got used at all.

    Now I plan my garden around what my family already eats every single week.

    Instead of asking, “What should I grow?” I ask:

    • What vegetables do I buy most often?
    • What do I enjoy preserving?
    • What will actually save me money at the grocery store?

    Your garden should make your life easier—not leave you wondering what to do with another head of cauliflower.


    3. I Didn’t Match My Garden to My Gardening Style

    One of the biggest things I’ve learned is that not every crop fits every gardener.

    I’ve realized I much prefer plants that keep producing throughout the season instead of harvesting everything at once.

    That’s why some of my favorites are:

    These plants reward you week after week, and if life gets busy for a few days, you usually haven’t missed your entire harvest.

    For me, that’s much less stressful than trying to perfectly time a single harvest window.

    Knowing your gardening style is just as important as knowing your growing zone.


    4. I Didn’t Use a Weed Barrier

    If I could go back and change one thing from the beginning, this might be it.

    The first few years, I spent countless hours pulling weeds. It felt like every time I turned around, they had taken over again.

    Once I started using a weed barrier around my raised beds, everything changed.

    Not only did it dramatically reduce weeds, but it also:

    • Saved hours of maintenance.
    • Helped keep pathways clean.
    • Made watering and harvesting much more enjoyable.

    Gardening became something I looked forward to instead of another chore on my to-do list.

    If you’re trying to create a low-maintenance garden, don’t skip this step.


    5. I Forgot That Healthy Soil Needs Maintenance

    It’s easy to focus on planting every spring and forget that the real work starts after harvest.

    A few years ago, I filled my raised beds with composted manure, and the difference was incredible. My plants were healthier, grew larger, and produced far more than previous years.

    Over time, though, all those vegetables remove nutrients from the soil.

    This year it’s time to replenish my beds again with composted manure and organic matter before next season.

    Taking care of your soil is one of the best investments you can make. Healthy soil grows healthy plants, and healthy plants reward you with bigger harvests.

    Think of it as feeding your garden so it can feed your family.


    Final Thoughts

    One of my favorite things about gardening is that every season is a chance to learn.

    No garden is ever perfect, and even experienced gardeners make mistakes. The goal isn’t perfection—it’s making each year just a little easier and a little more productive than the last.

    If I were starting a garden from scratch today, I’d give my plants more room, grow what we actually eat, choose crops that fit my lifestyle, keep weeds under control from the beginning, and never forget to care for the soil.

    Those five simple changes have completely transformed how enjoyable—and productive—my garden has become.

    As I grow my garden year after year, I have been also mastering how I want to use the items year round! The Ultimate Guide to Freezer Meal Prep for Busy Moms

    I’d love to hear from you!

    What’s one gardening mistake you’ve made that taught you a valuable lesson? Share it in the comments below—I bet we’ve all been there!

  • One Garden Crop I Haven’t Bought in Over 2 Years: Sweet Peppers

    One Garden Crop I Haven’t Bought in Over 2 Years: Sweet Peppers

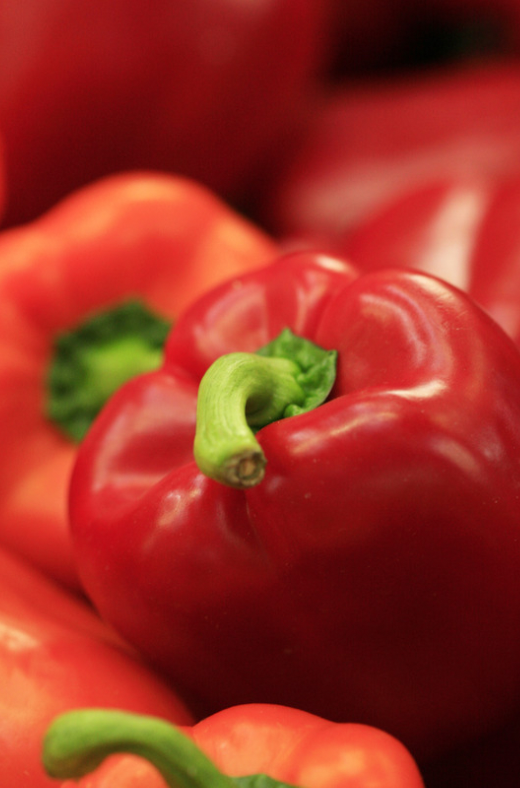
    Every summer, my sweet pepper plants seem to hit all at once. One week I’m picking a few peppers for dinner, and the next I’m wondering how I’m ever going to use them all before they go bad.

    A few years ago, I decided I was done wasting peppers—or buying them in the grocery store during the winter. Since then, I’ve frozen enough peppers each summer that I honestly haven’t purchased a single sweet pepper in over two years.

    If you have a garden full of peppers, here are my favorite ways to preserve them so they’re ready to use all year long.

    Freeze Pepper Strips for Everyday Cooking

    This is the easiest method and the one I use the most.

    Simply:

    That’s it!

    Frozen peppers work beautifully in recipes where they’ll be cooked, including:

    • Fajitas
    • Stir fry
    • Omelets
    • Soups
    • Chili
    • Pasta sauces
    • Pepper and onion mixes for sandwiches
    • Breakfast Burritos
    • Sheet pan meals

    Since they’re already sliced, you can grab exactly what you need without thawing the entire bag.

    Make Freezer-Friendly Stuffed Peppers

    Stuffed peppers are one of my favorite meals to prepare in bulk.

    I’ll often make a double batch:

    • Bake one pan for dinner.
    • Freeze the second pan for a busy week after harvest season.

    Be sure to use an aluminum pan with lid to keep them in the freezer and pop right into the oven when its time to cook!

    It’s one of those meals that tastes just as good after freezing and makes a perfect weeknight dinner when life gets hectic.

    Try Deconstructed Stuffed Peppers

    If your peppers aren’t perfectly shaped—or you simply want something even easier—deconstructed stuffed peppers are the way to go.

    Instead of stuffing each pepper, cook everything together:

    • Ground beef or turkey
    • Rice
    • Chopped sweet peppers
    • Onion
    • Tomato sauce
    • Seasonings

    Serve it fresh over rice, or freeze it in meal-sized portions for later.

    It has all the flavor of traditional stuffed peppers with a fraction of the prep time, making it one of my favorite freezer meals.

    Add Peppers to More Than You Think

    Once you have frozen peppers ready to go, you’ll find yourself adding them to recipes you never thought about before.

    Some of my favorites include:

    • Pasta salads
    • Pizza toppings
    • Fried potatoes
    • Quiche
    • Egg bites
    • Breakfast burritos
    • Casseroles
    • Homemade fried rice
    • Vegetable soups
    • Chicken and rice bowls
    • Taco meat
    • Pasta dishes

    Having peppers already chopped means it’s easy to sneak extra vegetables into almost any meal.

    Save Money All Year Long

    Fresh sweet peppers can get surprisingly expensive during the winter months, especially if you’re cooking for a family.

    By spending just a little time preserving your garden harvest, you’ll have peppers ready whenever you need them—and save money every time you skip buying them at the grocery store.

    For our family, this simple habit has meant I haven’t bought a sweet pepper in over two years.

    Every time I reach into the freezer for a handful of peppers in January, I’m reminded that a little work during harvest season pays off all year long.

    If you grow sweet peppers, don’t stop after making a few meals. Freeze them, cook with them, and stock your freezer while they’re abundant. Your future self will be grateful on those busy weeknights when dinner comes together in minutes. Utilize my Freezer Meal Prep Guide to find more meals!

  • Don’t Let Fresh Zucchini Go to Waste: Two of My Favorite Ways to Use It

    Don’t Let Fresh Zucchini Go to Waste: Two of My Favorite Ways to Use It

    If you grow a garden, you know how quickly zucchini season can go from “I can’t wait for the first one!” to “Why do I suddenly have 15 zucchini on my counter?”

    While grilled zucchini is one of our favorite summer side dishes, I’ve learned that freezing it is one of the easiest ways to enjoy that summer harvest all year long.

    Our Favorite Summer Side: Grilled Zucchini

    During zucchini season, we grill it constantly. Simply slice the zucchini into long strips or thick rounds, drizzle with olive oil, and season with your favorite blend. We usually keep it simple with:

    • Olive oil
    • Garlic powder
    • Salt
    • Pepper
    • Italian seasoning
    • Parmesan cheese (optional after grilling)

    Grill over medium heat for just a few minutes per side until it’s tender with light grill marks. It pairs perfectly with burgers, grilled chicken, steak, or pork chops.

    Freeze It for an Easy Weeknight Side

    When we have more zucchini than we can eat, I don’t let it go to waste.

    Instead, I wash it, cut it into bite-sized cubes, and freeze it in freezer bags. There’s no need to blanch it first if you’re planning to roast it later.

    Then, on busy nights, I simply pour the frozen zucchini directly onto a baking sheet. I drizzle it with olive oil, sprinkle on salt, pepper, garlic powder, and any other seasonings I’m craving, then roast it in the oven until it’s tender and lightly browned.

    It’s one of the easiest vegetable sides to pull together, and having it already prepped in the freezer means dinner comes together even faster.

    My preferred way to freeze it, with a vacuum sealer to ensure limited air in the bags and best utilizing space in my freezer! My personal favorite vacuum sealer

    Why I Love Freezing Zucchini

    • It helps reduce food waste during peak garden season.
    • The prep work is already done.
    • It’s an easy vegetable to add to almost any meal.
    • You get a taste of summer even in the middle of winter.

    If your garden is overflowing this year, don’t feel like you have to eat zucchini every day just to keep up. Grill what you can enjoy now, freeze the rest, and your future self will thank you on those busy weeknights when you need a quick, healthy side dish.

    Be sure to check out the other ways to use items in the garden! The Ultimate Guide to Freezer Meal Prep for Busy Moms